
Connect With Our Team
Install Solar Panel at Home: Complete DIY Installation Guide
Jul 07, 2025
7708 View
Install Solar Panel at Home: Complete DIY Installation Guide
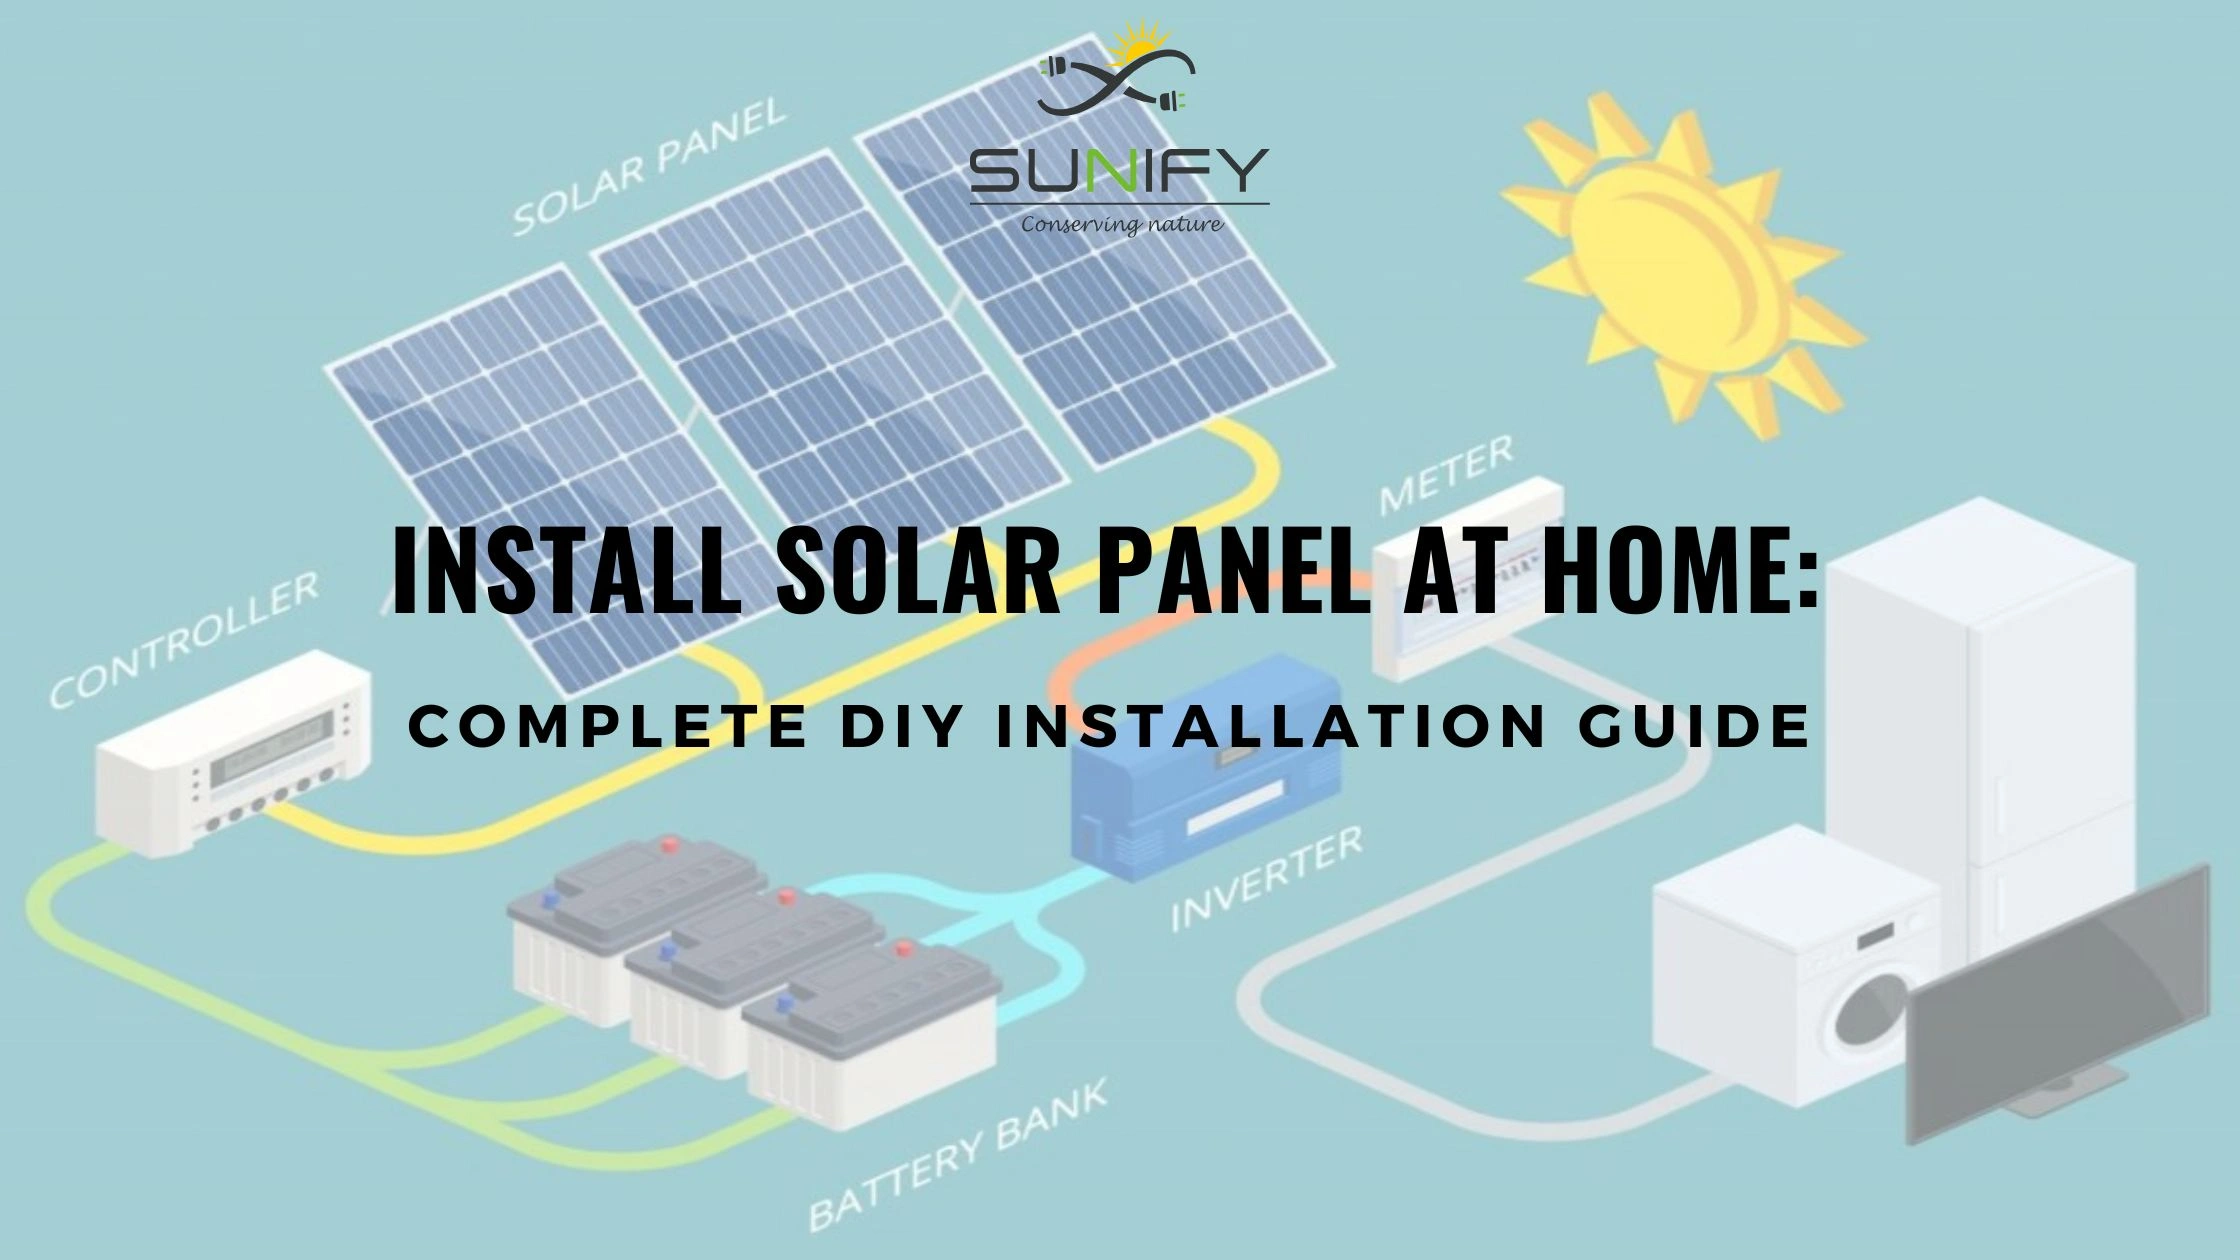
Switching to solar energy would be a wise move towards cutting down your energy expenses and the cost of living in a sustainable way. When you install a solar panel system for home, you are not only saving your money but also making the world a greener place. In case you are planning to do it on your own, this detailed step-by-step tutorial will lead you through the process of installing home solar panels safely, efficiently and reaping benefits in the long run.
Essential Components for a Household Solar Panel Setup
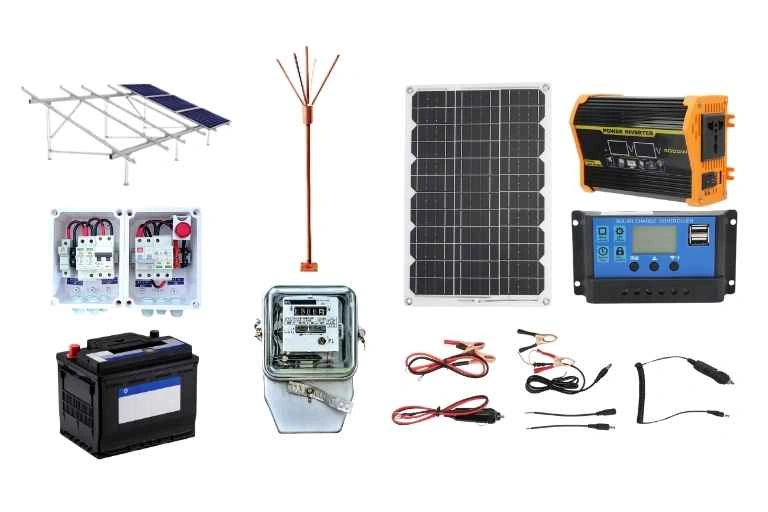
Before you begin installing solar panels for your home, you need to collect the following materials:
-
Solar panels/modules
-
Pole, flush or roof-ground mounting structures
-
Inverter
-
Off-grid battery storage
-
Lightning arrester
-
Cables DC/AC, earthing kits and connectors
-
Combiner box and conducting pipes
-
Safety (glove, helmet, harness, etc)
-
wiring of solar panel
-
solar panel kit
These are essential tools and components in the development of a dependable solar energy system.
How to Choose the Best Location and Angle
A key step in DIY solar panel fitting is location analysis:
-
Go Shadow-Free: make sure the place of installation will have sunlight between 9 am and 4 pm. Avoid trees, chimneys, or AC units which may produce shadows.
-
Select the Correct Orientation: Panels in India get maximum exposure to the sun when facing southwards.
-
Shadow Analysis tools: Applications such as PV Watts or Solar edge can estimate the shading and efficiency.
The adequate location increases the output and durability of household solar panels.
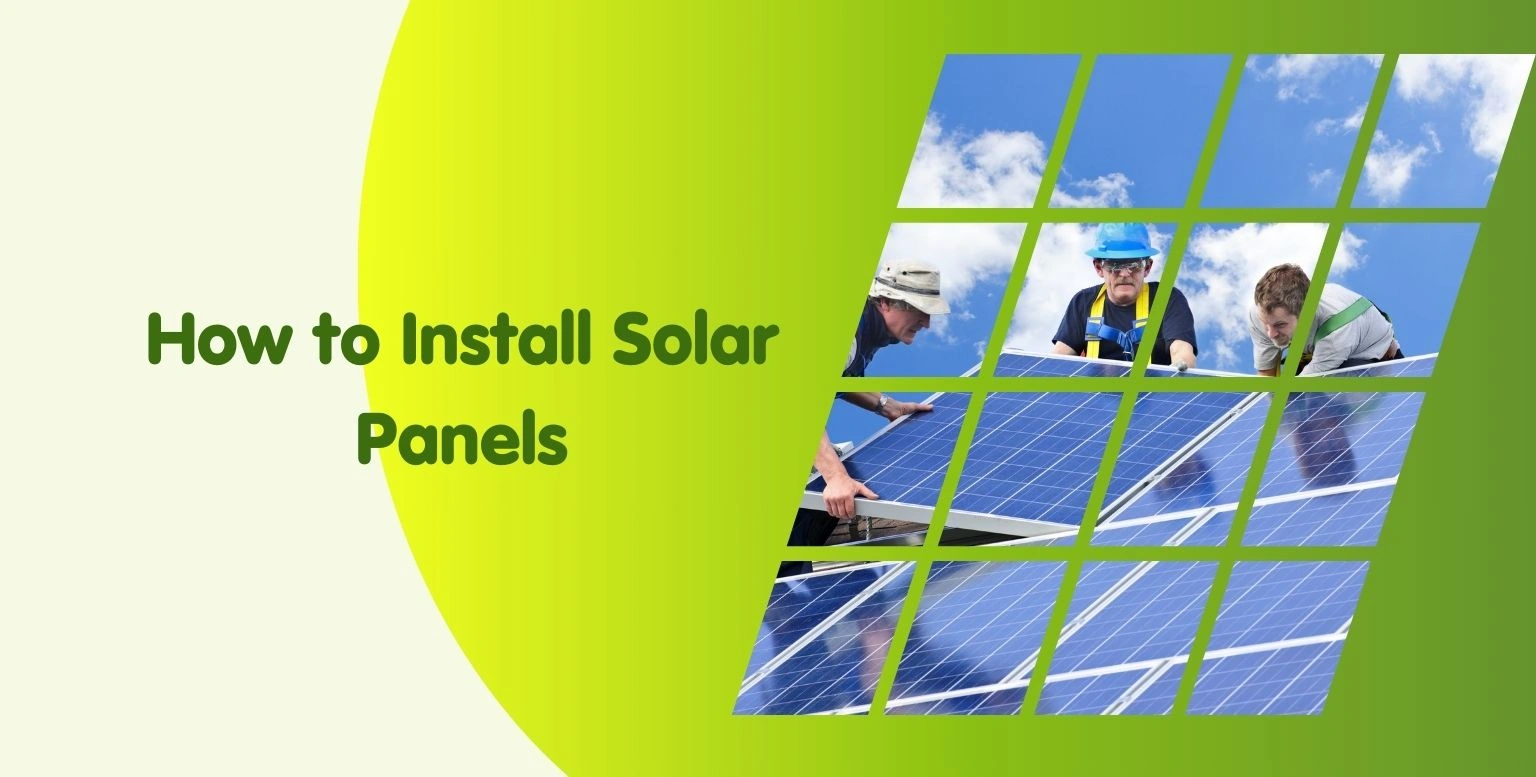
Step-by-Step DIY Solar Panel Installation
1. Assess and Prepare Your Roof
The first place to check is the condition of your roof. It must be clean, spacious and strong to bear the weight of solar panels for your home. Find out the size of the area that is to be used to determine the number of panels that you are able to install.
2. Select and Install the Mounting Structure
Choose the right solar mounting structure based on your roof type:
-
Pole mounts (for single panels)
-
Roof-ground mounts (for multiple panels at a slant)
-
Flush mounts (fixed directly to the roof)
Secure the mounts firmly, ensuring they can withstand wind and weather.
3. Arrange and Organize the Panels
Instead of electrical, lay out your solar power as you design it. This assists in the visualization of the final set up and also efficient utilization of space. When they have organized the panels in advance, the wiring process became easy as well.
4. Electrical Wiring and Connections
Use MC4 connectors to link the panels. Choose to connect to a series-wire connection (higher voltage) or a parallel-wire connection (higher current) depending on the requirements of your system. Safety and appearance will follow their incorporation through conduit pipes and cable trays.
5. Connect Inverter, Battery, and Household Supply
-
Panels to inverter: The positive and negative wires of the panels should be connected to the positive and negative terminals of the inverter.
-
Inverter to battery (optional): This is optional where an inverter is attached to the positive and negative posts of the battery to provide backup storage.
-
Inverter to home electricity: You connect the output of the inverter to a main switchboard and make sure that the power was turned off in the process.
6. Final Inspection and System Activation
Check the security and insulation at all connections. Make sure that no moisture is in the area of electrical parts. Once everything is tested, activate the system and track its running.
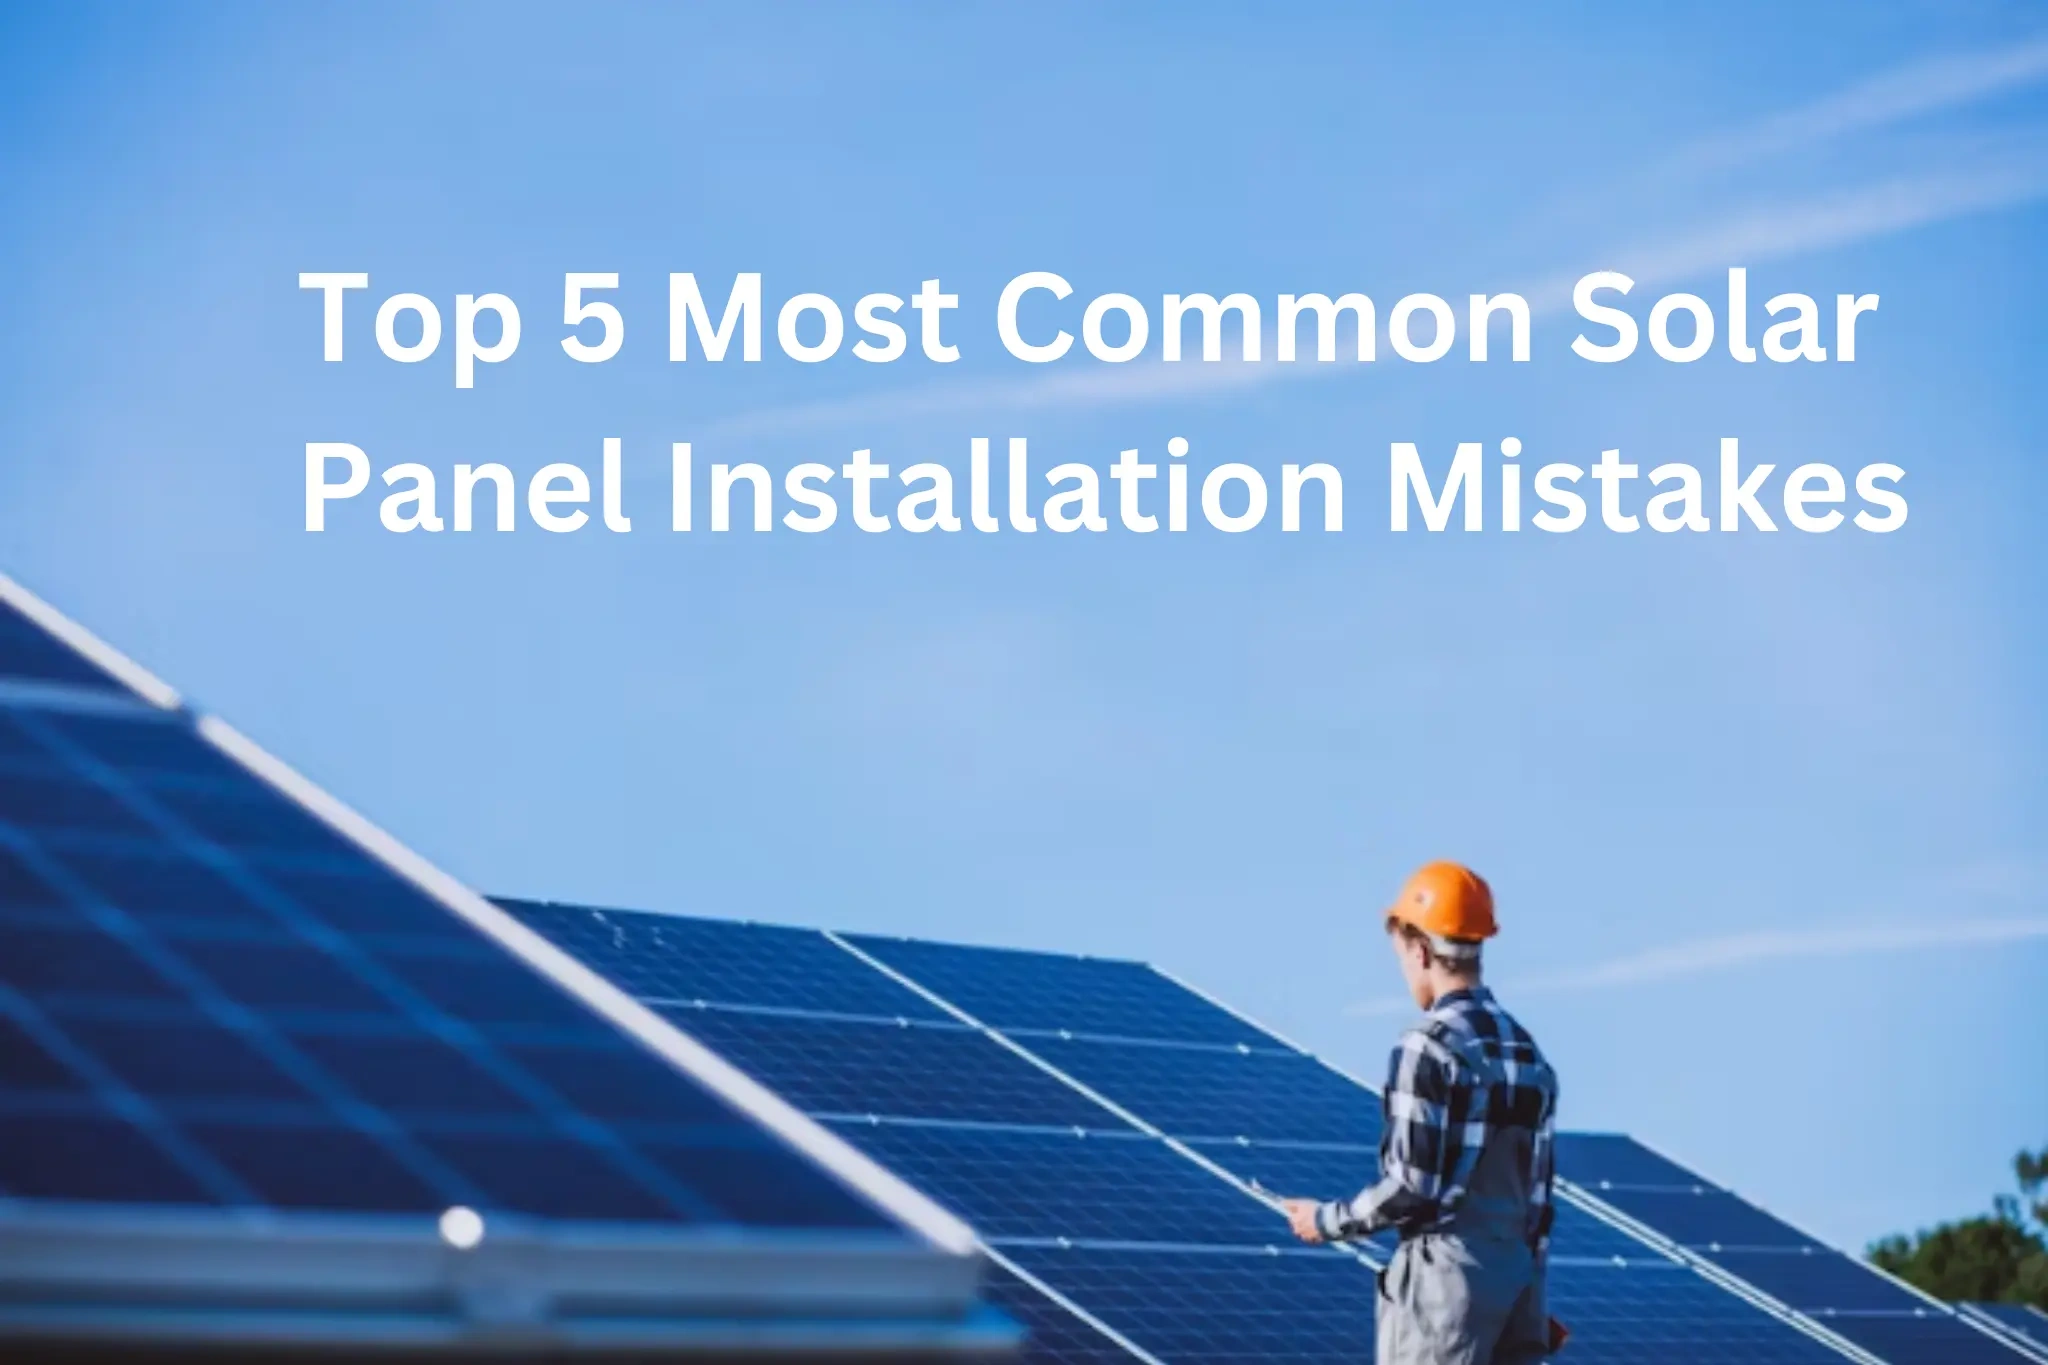
Common Mistakes to Avoid When You Install Solar Panels
-
Wrong Orientation: Result in low efficiency
-
Missing Shadow Analysis: Block panels at the peak time:
-
Loose Mounting or Wiring: It adds hazards to safety:
-
Forgetting Permits: This might be needed by the local authorities
These errors should be avoided to have a secure and effective rooftop solar system.
Safety Tips for DIY Solar Panel Installation
-
Protective clothes: wear gloves, hard hats, safety glasses, and harnesses.
-
Switching off power: Before working on any electrical connections always switch the main circuit breaker off.
-
Lock all mounts and panels: Fasten all points so that it can support extreme weather and avoid mishaps.
Where the best and safest course is in doubt, seek the advice of the licensed professionals.
Bifacial & Monofacial Solar Panel
Conclusion
The decision to install a solar panel system at home is a clever one that leads to energy independence, savings in the longer term, and a responsible attitude to the environment. Being a DIY fan or just a person checking out your possibilities, the basics of solar installation will be your first step towards a greener and brighter future.
At Sunify Solar we are not only a manufacturer and exporter of solar panels, we empower residential homeowners such as you to own your energy. Our quality guaranteed solar panels, complete kits and support, will provide you the confidence to assemble your own solar panel as well as have it installed by certified panel installers.
People Also Ask
1. Can I install solar panels myself?
Yes, you can install solar panels at home if you have the right knowledge and tools. However, for electrical connections, hiring a professional is recommended for safety and code compliance.
2. How many solar panels do I need for my house?
The number depends on your roof size, energy needs, and panel efficiency. Measure your available space and consult a professional for precise calculations.
3. How much does it cost to install solar panels?
Costs vary based on system size, equipment quality, and installation complexity. While the initial investment can be significant, long-term savings on electricity bills make it worthwhile.
4. How long does installation take?
A typical solar panel installation for a home takes one to three days, depending on the system’s size and complexity.
Share this post :

Whatsapp Chatx
Hi! Click one of our representatives below to chat on WhatsApp or send us email to solar@sunifysolar.in

|
************** +91 81414 55503 |
